PowerShell has become an essential tool in IT security management, enabling administrators to perform complex tasks efficiently and securely. Understanding how to leverage PowerShell commands effectively can significantly enhance your security posture. This comprehensive guide will walk you through various aspects of PowerShell security, from execution policy management to user account control.
Understanding PowerShell Execution Policies
What Are PowerShell Execution Policies?
PowerShell execution policies are a security feature designed to control the conditions under which PowerShell loads configuration files and runs scripts. They are intended to prevent the unintentional execution of scripts that could contain harmful code. The primary execution policies are:
- Restricted: This is the default setting which prevents any scripts from running. Only interactive commands are allowed, making it the safest option for environments where scripts are not used.
- AllSigned: With this policy, only scripts that are signed by a trusted publisher can be executed. This ensures that any script being run has been validated, thus reducing the risk of executing malicious content.
- RemoteSigned: Scripts that are created locally can run freely, while scripts downloaded from the internet must be signed by a trusted publisher. This strikes a balance between usability and safety, ensuring that downloaded scripts from external sources are verified.
- Unrestricted: This policy allows all scripts to run without any safeguards. While it is useful in development or testing environments, it poses a significant risk when deployed in production settings.
To check your current execution policy, run the following command:
Get-ExecutionPolicy
This will return a string indicating the current policy in effect. If you need to bypass this policy temporarily for script execution, refer to our section on PowerShell Execution Policy Bypass.
Bypassing Execution Policy
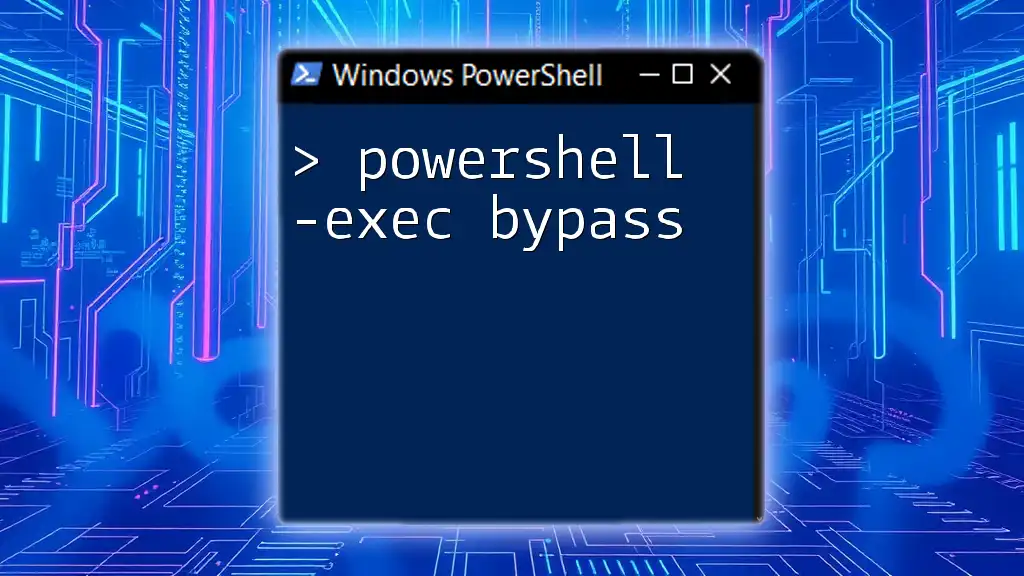
PowerShell Execution Policy Bypass
Bypassing the execution policy allows you to execute scripts without needing to alter system-wide settings, especially in situations where you need to run a single script quickly. This approach is commonly used in work environments where IT administrators routinely run scripts for maintenance tasks.
For example, to run a specified script while bypassing the policy, you can use the command:
powershell -ExecutionPolicy Bypass -File "C:\Path\To\YourScript.ps1"
This command effectively instructs PowerShell to ignore any execution policy setting for the duration of this command, allowing you to proceed with script execution without changing the global policy. This feature is invaluable for administrators managing multiple systems who may need to run custom scripts in a data center or cloud environment, offering quick solutions without long-term effects on system security.
Using powershdll for Policy Bypass
An alternative method for bypassing the execution policy is to use the powershdll utility, which can simplify the execution of PowerShell with a modified execution policy. This tool allows you to execute a PowerShell command directly without modifying any settings on the underlying PowerShell environment.
For instance, the following command allows you to run PowerShell with an execution policy of bypass:
powershdll powershell -ep bypass
The -ep bypass flag indicates that the execution policy for this instance will be set to bypass, making it straightforward to execute scripts that would otherwise be restricted. This method is particularly useful for scripting in environments with strict security policies that do not allow for permanent changes to execution policies. For further insights on this method, check our guide on powershdll PowerShell -ep bypass.
User Management and Security
Adding Users to Groups
Managing user accounts and their permissions is crucial for maintaining a secure environment. Group membership defines the level of access users have to files, folders, and applications. To add a user to a specific group, you can utilize the following command:
Add-ADGroupMember -Identity "GroupName" -Members "UserName"
In this example, replace "GroupName" with the name of your Active Directory group and "UserName" with the account name of the user you wish to add. Adding users to the appropriate groups can significantly enhance security by ensuring that users have only the necessary permissions they require for their tasks. Permissions should be assigned based on the principle of least privilege, which minimizes potential security risks.
Using the Add-ADGroupMember command, you can easily automate user management tasks and maintain a clear understanding of user roles. For detailed guidance, explore our section on PowerShell Add User to Group.
Get Credential Securely
Managing credentials securely is paramount in ensuring unauthorized access to sensitive data does not occur. By using the Get-Credential cmdlet in PowerShell, you can prompt for user credentials in a secure manner that does not expose them in plaintext.
To do this, simply run:
$credential = Get-Credential
When executed, this command opens a dialog box prompting the user to enter their username and password. The value entered is stored in the $credential variable as a secure string, thus encrypting it in memory. This is particularly useful for scripts where credentials are required to access resources, as it avoids hardcoding sensitive information directly into your code.
Understanding how to securely gather and manage credentials is critical for maintaining compliance with security policies and regulations. To learn more about utilizing credentials in your scripts, visit PowerShell Get Credential.
Security Compliance in PowerShell
Security and Compliance Overview
Adopting effective security measures and ensuring compliance with regulations is a necessary part of using PowerShell. Organizations are often required to adhere to standards such as PCI DSS, HIPAA, and GDPR, and PowerShell can help in automating compliance checks.
To ensure compliance, it's important to regularly review and audit your PowerShell scripts and commands. This can involve checking for secure coding practices, validating execution policies, and ensuring that sensitive data is handled appropriately. Ongoing education about the implications of security policies within PowerShell is also critical for teams tasked with protecting their infrastructure. For an in-depth understanding, refer to our article on Security and Compliance PowerShell.
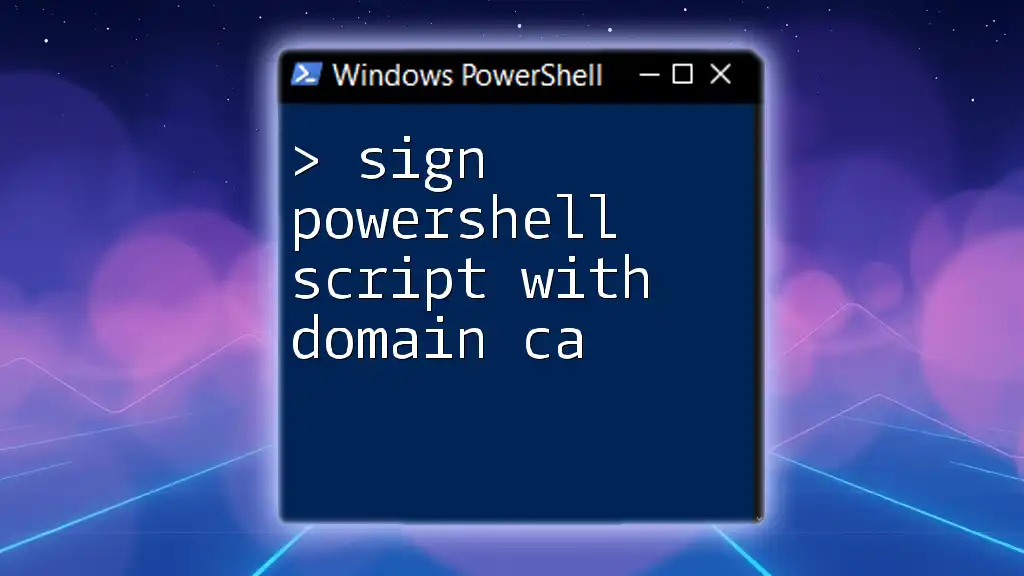
Signing PowerShell Scripts
Signing your PowerShell scripts adds another layer of security by allowing only trusted scripts to run on your system. Script signing helps to ensure that the code has not been tampered with after it has been published. Here's a brief overview of how to sign a PowerShell script:
- Obtain a code signing certificate from a trusted certificate authority.
- Use the
Set-AuthenticodeSignaturecmdlet to apply the signature to your script:
Set-AuthenticodeSignature -FilePath "C:\Path\To\YourScript.ps1" -Certificate $certificate
In this command, replace $certificate with your actual code signing certificate object. By signing your scripts, you create a chain of trust that allows you to validate script content before it executes, making it a crucial practice for enhancing security in any environment. Should you need more insights on this process, check the details in our guide on Sign PowerShell Script.
Secure Data Handling
Generating Random Passwords
Strong password generation is vital in preventing unauthorized access. Random passwords make it significantly more difficult for attackers to gain entry through brute-force methods. PowerShell can generate strong, random passwords quickly and easily. To create a random password of a specified length, you can use the following code:
$length = 16
$randomPassword = [System.Web.Security.Membership]::GeneratePassword($length, 2)
In this code, $length specifies how many characters the password should contain, and the additional 2 indicates that at least two non-alphanumeric characters must be included. By utilizing this approach, you can automate the process of generating random passwords for new accounts, enhancing your security practices. For details on how to implement this in various user account scenarios, visit PowerShell Generate Random Password.
Using SecureString
Using SecureString in PowerShell is essential for managing sensitive data. A SecureString encrypts the string in memory, thus protecting it from being easily exposed. This feature is particularly important when handling passwords or other sensitive information. To create a SecureString, use:
$secureString = ConvertTo-SecureString "MyP@ssword" -AsPlainText -Force
This command converts the plain text password “MyP@ssword” into a secure format. The -AsPlainText and -Force parameters allow you to input plaintext without prompting for confirmation, which is useful when creating automated scripts.
For example, you might use a SecureString when designing a script to connect to a database securely. By storing the password as a SecureString, it remains protected while in memory. If you seek a complete understanding of SecureString usage, please check our section on PowerShell SecureString.
Modifying Execution Policies
Changing the Execution Policy to Unrestricted
In some cases, you may need to set your execution policy to unrestricted temporarily to allow scripts to run without being blocked by security settings. This could be particularly useful during development scenarios or when testing certain functionalities. However, using this command should be approached with caution, given the associated security risks.
To change the execution policy, you can run:
Set-ExecutionPolicy Unrestricted -Scope CurrentUser
By using the -Scope CurrentUser parameter, the change will only affect the current user account, leaving system-wide settings intact. Once your script execution is complete, it’s essential to revert back to a more restrictive policy to ensure continued protection. You can learn more about execution policies in PowerShell through our article on PowerShell Set Execution Policy Unrestricted.
User Account Control
Running PowerShell as a Different User
Sometimes, you may need to perform administrative tasks that require elevated privileges, or you may simply want to operate under a different user account for security purposes. PowerShell makes this easy through the use of the Start-Process cmdlet, which allows you to run instances of PowerShell using different credentials.
For example, execute the following command:
Start-Process powershell.exe -Credential (Get-Credential)
Upon running this command, you will be prompted to enter the credentials for the user account you wish to use. This is incredibly useful for administrative tasks that need elevated rights without compromising account security. To understand more about running scripts as different users, please refer to our section on PowerShell Run as Different User.
Running PowerShell as System
In certain situations, particularly when performing actions that require system-level privileges, you might need to run PowerShell as the SYSTEM user. The SYSTEM account has highest-level privileges on a Windows system. Executing the following command using the PsExec utility allows this:
psexec -i -s powershell.exe
The -i flag specifies that the process should be run interactively, while -s signifies running as the SYSTEM account. Be cautious with this level of access, as it can lead to significant changes to the system without prompts or errors. This command is often used in deployment scripts and security assessments to perform actions that are otherwise prevented for normal user accounts. For a complete understanding of running PowerShell as SYSTEM, see our article on Run PowerShell as System.
Troubleshooting Security Issues
Access Denied Errors
Encountering “Access to the path is denied” can be frustrating and is often a sign of permission issues. This error can arise for various reasons, such as insufficient access rights assigned to your user account, attempting to access a resource that is locked or in use, or working in a protected directory.
To troubleshoot this error, begin by checking the permissions of the target file or folder using the Get-Acl cmdlet:
Get-Acl -Path "C:\Path\To\File"
This command outputs a list of the permissions assigned to that file, allowing you to understand why access might be denied. Make sure that your account has the necessary rights to the resource in question. For further assistance, our guide on PowerShell Access to the Path is Denied can be invaluable in addressing these errors.
Clearing PowerShell History
For security reasons, it is often advisable to clear the command history in PowerShell, especially when handling sensitive data or during audits. This practice helps mitigate the risk of sensitive commands being exposed to unauthorized users.
To clear the command history in PowerShell, simply run:
Clear-History
Executing this will remove all entries from the PowerShell command history session, maintaining confidentiality regarding the commands previously used. This is a best practice when scripts are run that contain sensitive operations or secure values. To learn more about managing command history effectively, visit our section on Clear PowerShell History.
User Identification and Audits
Finding Users by SID
Querying user accounts by their SID (Security Identifier) is a crucial task for audits and security checks. Every user and group assigned to a system has a unique SID that helps maintain permissions and access controls. To find user information based on their SID, you can use the following command:
Get-ADUser -Identity "S-1-5-21-...-1001"
In this command, replace "S-1-5-21-...-1001" with the actual SID you want to query. Retrieving user details by SID can help in auditing users, especially in environments where names may change over time. For more detailed instructions on this procedure, consider our guide on PowerShell Find User by SID.
Checking Password Expiration Date
Keeping track of password expiration dates is integral to the effective management of user accounts and maintaining overall security compliance. Understanding when passwords expire helps mitigate the risk of unauthorized access caused by stale or forgotten credentials. To retrieve a user's password expiration date, you can use the following command:
Get-ADUser -Identity "username" -Properties "msDS-UserPasswordExpiryTimeComputed"
This command queries Active Directory for the specified user and retrieves the attribute that indicates when their password will expire. This can aid in proactive account management and ensures compliance with organizational policies that may require frequent password updates. For comprehensive guidance on managing user account security, see our section on Get Password Expiration Date PowerShell.
Last Logon Information
Tracking user logon activity aids in identifying unauthorized access and supports broader security monitoring efforts. PowerShell enables administrators to check the last logon information for a user by executing the following command:
Get-ADUser -Identity "username" -Property LastLogon
This command fetches information about the last time a user logged into the system, providing valuable data for security audits and monitoring potential account anomalies. By examining this information regularly, you can detect unauthorized access patterns or compromised accounts. To explore more about logon tracking, check our topic on PowerShell Last Logon.
Managing Folder Permissions
Understanding and managing folder permissions is a critical aspect of security. Properly configured permissions ensure that only authorized users have access to sensitive files and data, protecting against data breaches and misuse. You can check folder permissions using the following command:
Get-Acl -Path "C:\Path\To\Folder"
This command returns detailed information about the access control list (ACL) for the specified folder, allowing you to review the permissions assigned to various users and groups. By analyzing these permissions, you can make sure that appropriate access rights are enforced based on user roles and responsibilities. Regularly auditing folder permissions is vital for maintaining security within any organization. For more detailed guidance, see our section on PowerShell Get Folder Permissions.
Security Checks and Measures
Using Checksum for File Integrity
Verifying file integrity is essential for preventing data breaches. A checksum can help ensure that files remain unaltered by checking their hash value against a known good hash. You can generate and verify checksums using the Get-FileHash cmdlet in PowerShell:
Get-FileHash -Path "C:\Path\To\File.txt" -Algorithm SHA256
This command computes the SHA256 hash of the specified file, providing you with a unique hash value that can be compared against another known value. Implementing checksum verification into your regular security practices ensures that files, particularly executables or configuration files, have not been altered. For more information on checksums and their uses, refer to our guide on PowerShell Checksum.
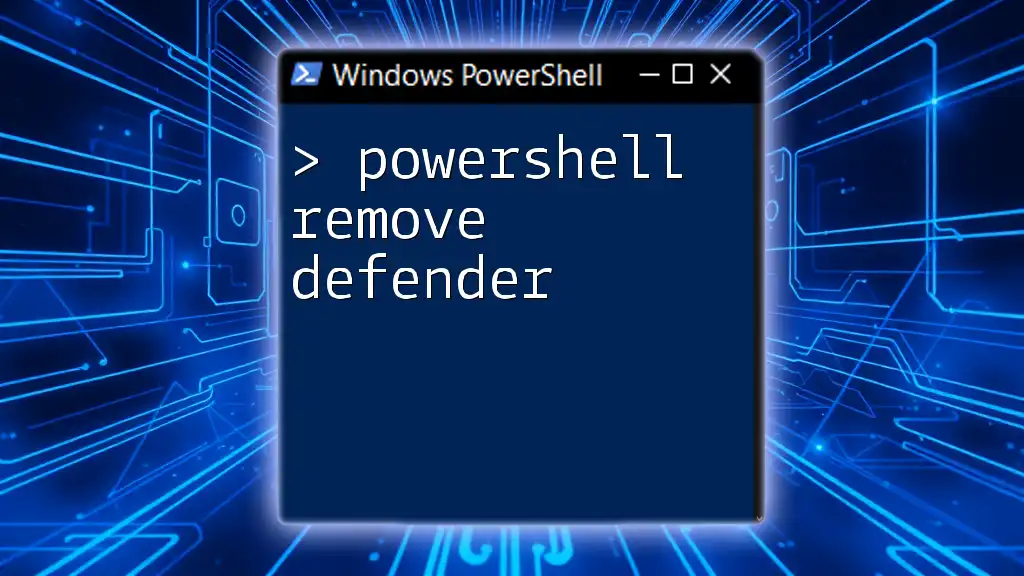
Disabling Windows Defender via PowerShell
Disabling security measures like Windows Defender can expose your system to potential risks, and should only be performed when absolutely necessary and with full awareness of the implications. If you must disable Windows Defender for troubleshooting or testing, you can do so using:
Set-MpPreference -DisableRealTimeMonitoring $true
This command turns off real-time protection, but be cautious as leaving your system unprotected can lead to vulnerabilities. It’s always recommended to enable Windows Defender immediately after completing your tasks to help safeguard your system against malware and other threats. For further details, check our article on Disable Windows Defender PowerShell.
Getting User SID
Obtaining the SID for a user is important for security configurations, audits, and identity management within Windows environments. To extract a user’s SID, you can execute the following command:
Get-LocalUser -Name "username" | Select-Object SID
This command retrieves the SID for a user account on the local system and displays it. Understanding user SIDs is valuable in scenarios where user account names may change over time, or when performing security audits that require verification against SIDs. For a complete understanding, refer to our section on PowerShell Get User SID.
Conclusion
By understanding and utilizing various PowerShell commands and techniques outlined in this guide, you can significantly enhance your organization's security posture. From executing scripts safely to managing user accounts and permissions effectively, PowerShell serves as a powerful ally in your security toolkit.
As you navigate these commands and concepts, remember that security is an ongoing process requiring continual assessment and adaptation. This guide aims to empower you with actionable insights to enhance security within your environment while promoting best practices and compliance. For additional resources, consider exploring further readings related to PowerShell security and compliance best practices.