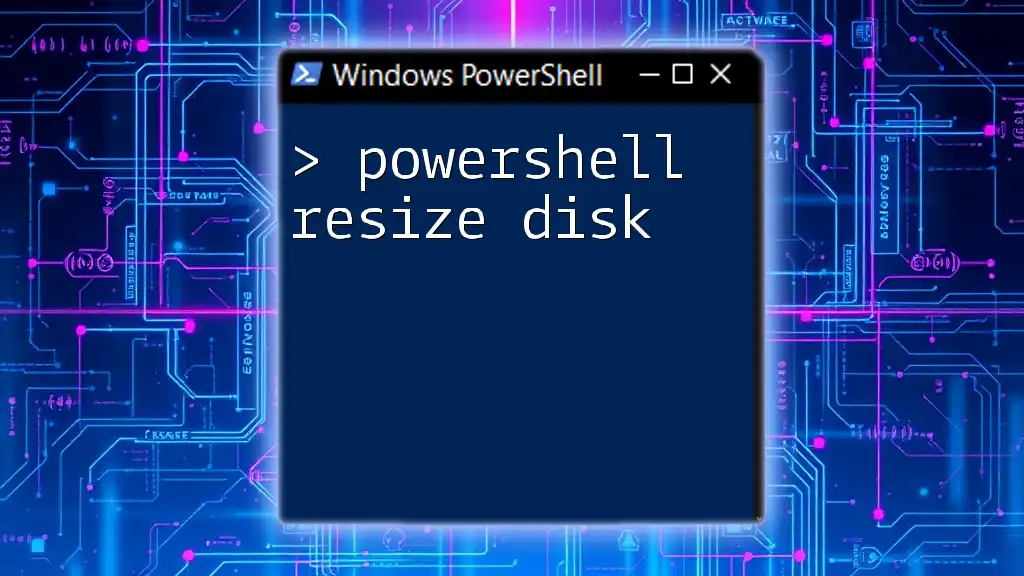
To resize a disk in PowerShell, you can use the `Resize-Partition` cmdlet, which allows you to adjust the size of an existing partition on a disk.
Resize-Partition -DriveLetter D -Size 100GB
Understanding Disk Resizing with PowerShell
What is Disk Resizing?
Disk resizing is the process of changing the size of a disk or partition on your computer, often to allocate more space for applications or data storage. This can be particularly useful when a disk is nearing its capacity, affecting performance and usability. As data grows over time, keeping partitions appropriately sized is crucial for maintaining an efficient and responsive system.
Prerequisites
Before you dive into resizing disks and partitions with PowerShell, ensure you have:
- Basic knowledge of PowerShell and its command-line interface.
- Administrative privileges on your system to perform disk management tasks.
- A backup of your data is essential; resizing can involve risks that may lead to data loss if something goes wrong.
How to Check Disk and Partition Sizes
Using PowerShell to Display Disk Information
Knowing the current sizes of your disks is essential before making any changes. You can easily display the available disks and their sizes using the following command:
Get-Disk | Format-Table -Property Number, Size, PartitionCount
This command will show you a formatted table containing the disk number, size, and the number of partitions on each disk. Identifying the target disk for resizing is crucial for the next steps.
Checking Partition Sizes
To understand how much space each partition occupies, use the command:
Get-Partition | Format-Table -Property PartitionNumber, DriveLetter, Size, UsedSpace
This command outputs essential details about all partitions, including the partition number, drive letter, size, and used space. By reviewing this information, you can decide how much to resize specific partitions.
Resizing a Disk using PowerShell
Steps to Resize a Disk
When preparing to resize a disk, follow these critical steps:
- Identify the Disk: Determine which disk you will be resizing using the information gathered in the previous section.
- Check for Unallocated Space: Ensure there’s enough unallocated space on the disk to accommodate your resizing needs.
Command to Resize Disk
Once you've confirmed that there's adequate unallocated space, you can specify how much to resize the disk. For instance, if you want to resize the C: drive to 100 GB, the command would be:
Resize-Partition -DriveLetter C -Size 100GB
In this command, replace `C` with the appropriate drive letter for the partition you intend to resize. It’s important to ensure the specified size does not exceed the available space.
Resizing a Partition to Max
Checking Maximum Size of a Partition
To maximize the usage of unallocated space on a specific partition before executing the resize, you can check the maximum expandable size with the following commands:
$partition = Get-Partition -DriveLetter C
$maxSize = (Get-Disk | Where-Object Number -eq $partition.DiskNumber).UnallocatedSpace
Here, the first command retrieves the partition details for the specified drive letter, while the second command fetches the total unallocated space on the same disk.
Resizing Partition to Maximum Size
After verifying the maximum size, you can adjust the partition to consume all available unallocated space with the following command:
Resize-Partition -DriveLetter C -Size $maxSize
This command effectively adjusts the partition size to utilize any unallocated space, ensuring the drive is maximized without exceeding physical limits.
Example Use Case
Scenario
Consider a user running out of space on the C: drive due to extensive software installations and data accumulation. To mitigate this issue, resizing the drive becomes necessary.
Step-by-Step Walkthrough
-
Check Current Space: First, the user runs `Get-Partition` to understand the current size and used space.
-
Determine Unallocated Space: The user then identifies if there’s any unallocated space available for resizing.
-
Resize the Partition: Using the `Resize-Partition` command, the drive is adjusted based on the calculated needs, such as:
Resize-Partition -DriveLetter C -Size 200GB -
Verify the Changes: Lastly, confirming that the partition size adjustment was successful can be done using:
Get-Partition | Where-Object DriveLetter -eq 'C'
This verification step will allow the user to see the new partition size and confirm the successful execution of the resizing operation.
Verifying the Resized Disk
How to Confirm Changes
To ensure that your resizing operation was successful, use the following command:
Get-Partition | Where-Object DriveLetter -eq 'C'
This command will display the updated details for the specified partition. It's essential to check that the size reflects the intended adjustments.
Common Issues and Troubleshooting
Errors During Resizing
While resizing, you may encounter errors such as "Not enough space" or "This partition cannot be resized." Such issues typically arise from inadequate unallocated space or a locked partition.
Tips on Resolution
- Verify Unallocated Space: Run `Get-Disk` and `Get-Partition` commands to ensure that sufficient space exists on the disk.
- Close Applications: Ensure that no applications are currently using the partition you need to resize.
Rollback Options
If any issues arise, or if you need to revert the changes made during resizing, having a data backup is crucial. One approach is restoring data from a backup solution specific to your system.
Conclusion
Understanding how to use PowerShell for resizing disks is a powerful skill that allows you to optimize disk usage effectively. This guide has provided you with the commands and steps necessary to resize a disk and make informed decisions about managing your data storage.
Call to Action
Ready to enhance your PowerShell skills? Subscribe for more insightful tips and guides on utilizing PowerShell effectively. Don’t forget to share this guide with anyone who might need assistance with their disk management tasks!


