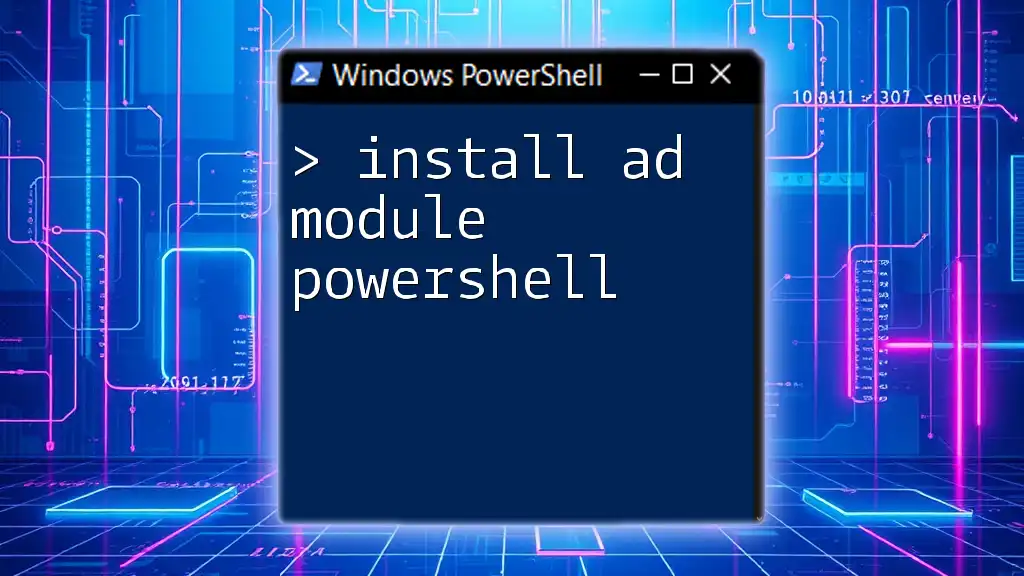
To install the Active Directory module in PowerShell, you can use the following command:
Install-WindowsFeature RSAT-AD-PowerShell
Understanding Active Directory Module in PowerShell
What is Active Directory?
Active Directory (AD) is a directory service developed by Microsoft for Windows domain networks. It facilitates the management of network resources such as computers, users, and services, providing an essential backbone for enterprise environments. With a centralized database, administrators can manage permissions, authenticate users, and provide access to resources efficiently.
What is the AD Module?
The Active Directory module for PowerShell consists of various cmdlets that enable administrators to perform a wide array of tasks related to Active Directory. These tasks include creating and managing users, groups, organizational units, and more. The AD module enhances productivity by allowing these tasks to be automated through PowerShell scripts, thus reducing manual effort and errors.
Prerequisites for Installing the Active Directory Module
System Requirements
Before you embark on installing the AD module, ensure you are aware of the following system requirements:
- Windows Versions: The Active Directory module is available on Windows 10 and Windows Server 2012 and later versions.
- Necessary Components: Certain features, specifically the Remote Server Administration Tools (RSAT), are required for the installation of the AD module.
PowerShell Version Check
It is crucial to confirm that your system has an appropriate version of PowerShell installed. To check the version of PowerShell on your machine, run the following command in the PowerShell console:
$PSVersionTable.PSVersion
This will display the installed version of PowerShell, which should ideally be 5.1 or higher for full compatibility with the AD module.
How to Install the Active Directory Module in PowerShell
Installing on Windows 10 and Higher
The installation of the Active Directory module on Windows 10 can be handled in several ways.
Using Windows Features
You can enable the module through the Windows Features settings. Here’s how:
- Open the Start menu, then type "Windows Features" to find and access the Windows Features settings.
- Scroll down to find "Remote Server Administration Tools", and then select "Role Administration Tools" followed by "AD DS and AD LDS Tools".
Alternatively, you can install it directly via PowerShell using the command for enabling RSAT:
# Example Command to enable RSAT
Get-WindowsCapability -Name RSAT* -Online | Add-WindowsCapability -Online
Using PowerShell Commands
If you prefer automation, the Active Directory module can be installed using PowerShell commands. To accomplish this, you may utilize the following command:
Install-WindowsFeature RSAT-AD-PowerShell
This command adds the necessary feature for managing Active Directory via PowerShell.
Installing on Windows Server
For those using Windows Server, the installation process is similar but specifically tuned for server management. You need administrative privileges to perform the installation. Execute the following command in a PowerShell session with elevated rights:
Install-WindowsFeature RSAT-AD-PowerShell
This command will install the Active Directory module directly onto your Windows Server.
Importing the Active Directory Module in PowerShell
How to Import the AD Module
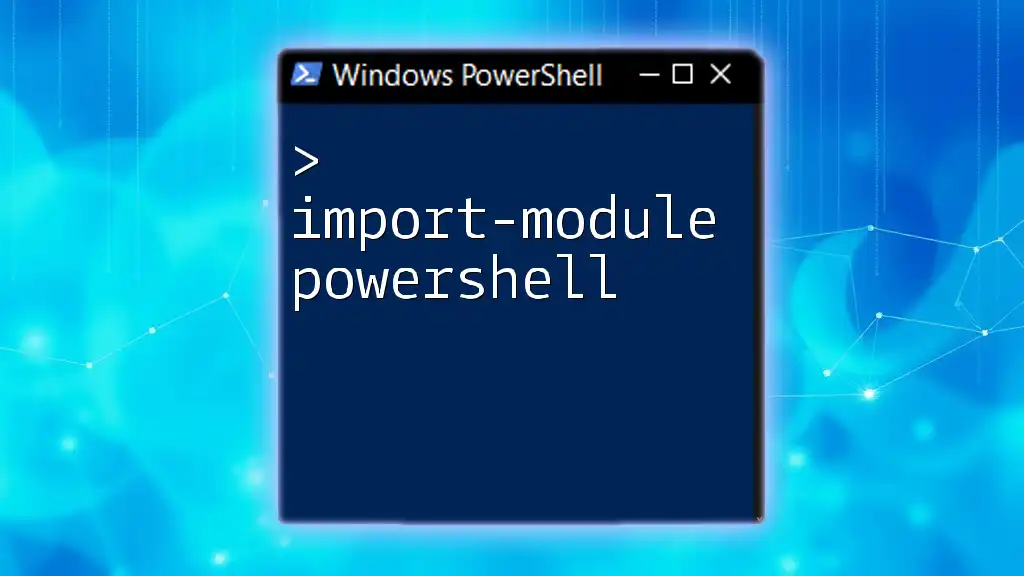
After installation, importing the Active Directory module into your PowerShell session is essential for executing AD cmdlets. Execute this command to import the module:
Import-Module ActiveDirectory
This action loads the Active Directory cmdlets into your PowerShell session.
Verifying Module Import
To confirm that the AD module has been imported successfully, you can run the following command to list the available modules:
Get-Module -ListAvailable
This will display all installed modules, including the Active Directory module.

Common Issues and Troubleshooting
Common Errors During Installation
While installing the Active Directory module, you may encounter certain errors. For instance, if the required components are missing or if you lack proper permissions. Such errors can be rectified by ensuring that you meet all prerequisites and running PowerShell as an administrator.
Module Load Failures
If you experience issues while importing the module, it could be due to various reasons, such as permission problems or system configurations. You can attempt to forcefully load the module with the following command:
Import-Module ActiveDirectory -Force
This command encourages PowerShell to load the module regardless of the existing states.
Frequently Asked Questions
What if the AD Module is Not Found?
In cases where the AD module is not listed, you should verify if RSAT is installed correctly. If RSAT is not found, return to the Windows Features settings to ensure that all relevant components are checked as installed.
Can I Use the AD Module Remotely?
Indeed! PowerShell supports remote sessions, allowing you to execute AD management tasks from a remote computer. To initiate a remote session, use the following command:
Enter-PSSession -ComputerName <RemoteServer> -Credential <AdminCredential>
Replace `<RemoteServer>` with the actual server name and `<AdminCredential>` with your administrative credentials to manage AD remotely.
Conclusion
Through this guide, you’ve learned how to install the AD module in PowerShell, from verifying system and PowerShell versions to executing the necessary commands. Familiarizing yourself with the Active Directory module opens up extensive opportunities for automation and efficiency in managing your network.
Resources for Further Learning
For those keen on further expanding their knowledge, consider exploring the [official Microsoft documentation](https://docs.microsoft.com/en-us/powershell/), which provides detailed insights into PowerShell and Active Directory management. Additionally, look for books or online courses dedicated to mastering PowerShell for a deeper understanding.
Call to Action
We encourage you to share your experiences or challenges working with the AD module. Join our training programs to enhance your skills further and navigate PowerShell with confidence!


