Certainly! Here's a concise explanation along with a code snippet:
"Using 7zip in PowerShell allows you to easily compress and decompress files with simple commands for efficient file management."
# Example of compressing a folder named 'MyFiles' to 'MyFiles.7z'
& "C:\Program Files\7-Zip\7z.exe" a "MyFiles.7z" "C:\Path\To\MyFiles\*"
Getting Started with 7zip
What is 7zip?
7zip is a popular open-source file archiver widely used for its impressive compression ratios and versatility in handling various file formats. Supporting a range of formats such as .7z, .zip, .tar, .gzip, .bzip2, and more, it allows users not only to compress files but also to create archives for better organization and storage efficiency. Its usability in both command-line and graphical user interface (GUI) makes it accessible for both novice and advanced users.
Installing 7zip
To begin using 7zip in PowerShell, you first need to install the application on your Windows machine. Follow these steps:
- Visit the official [7zip website](https://www.7-zip.org/) and download the installer suitable for your system architecture (32-bit or 64-bit).
- Run the installer and follow the prompts to complete the installation process.
After installation, you can verify its successful installation by navigating to the installation directory, typically found in `C:\Program Files\7-Zip`.
To make it easier to call 7zip from PowerShell, it’s advisable to add it to the system PATH.
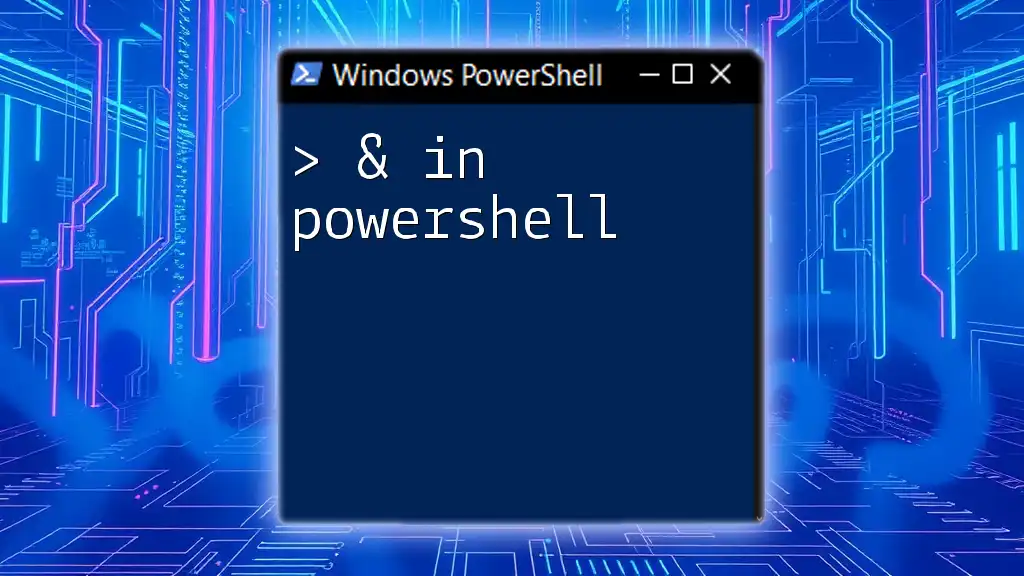
Accessing 7zip via PowerShell
Once installed, calling 7zip from PowerShell is straightforward. You can do this by specifying the full path to `7z.exe`:
& "C:\Program Files\7-Zip\7z.exe"
This command invokes the 7zip executable, allowing you to use its features right from your PowerShell prompt.
Setting Environment Variables
For easier access to 7zip from PowerShell, adding 7zip to your environment variables is a smart move. You can do this using the following command in PowerShell:
$env:Path += ";C:\Program Files\7-Zip"
This command updates the PATH environment variable, making the command `7z` callable directly without needing the full path.
Basic 7zip Commands in PowerShell
Compressing Files
To compress files using 7zip in PowerShell, you can follow the structure of the `7z a` command, where `a` stands for "add." Here’s an example that illustrates how to create a compressed archive named `archive.7z` from two text files `file1.txt` and `file2.txt`:
& "7z.exe" a "archive.7z" "file1.txt" "file2.txt"
In this command:
- `a` tells 7zip to add files to an archive.
- The first argument (`"archive.7z"`) is the name of the archive to be created.
- The subsequent arguments are the files to be included in that archive.
Extracting Files
Extracting files from an existing archive is just as simple. You can use the `x` command, which stands for "extract." For instance, to extract all files from `archive.7z`, run:
& "7z.exe" x "archive.7z"
The extracted files will be placed in the current directory by default, but you can specify a destination path if desired.
Advanced Usage of 7zip in PowerShell
Creating Self-Extracting Archives
A powerful feature of 7zip is the ability to create self-extracting archives, which can be very beneficial if you need to share archives with users who may not have 7zip installed. This can be done using the `-sfx` parameter. Here’s how you create a self-extracting executable:
& "7z.exe" a -sfx7z.sfx "self_extracting.exe" "filesource*"
In this command:
- `-sfx7z.sfx` specifies the self-extracting module.
- `"self_extracting.exe"` is the name of the self-extracting archive to be created.
- `"filesource*"` denotes the files to be included (you can use wildcards to include multiple files).
Splitting Large Archives
When dealing with large files, you might want to split them into smaller parts. The `-v` parameter allows you to define the size of each part. For example, to split `largefile.txt` into parts of 10MB, use:
& "7z.exe" a -v10m "largefile.7z" "largefile.txt"
This command will create multiple 7zip files, each with a maximum size of 10MB.

Batch Processing with PowerShell and 7zip
Automating Compression Tasks
Automation can significantly increase efficiency, especially when you need to compress multiple files. You can easily loop through files in a directory and compress them individually. Here’s a simple script that does just that:
Get-ChildItem *.txt | ForEach-Object {
    & "7z.exe" a "$($_.BaseName).7z" "$($_.FullName)"
}
In this script:
- `Get-ChildItem *.txt` retrieves all text files in the current directory.
- `ForEach-Object` iterates over each file, allowing you to execute the compression command for each one.
Scheduling Compression Tasks
If you want to run a PowerShell script to compress files at specific intervals, consider using Windows Task Scheduler. You can create a new task that runs a PowerShell script containing your compression commands, allowing you to automate backups or file organization efficiently.
Troubleshooting Common Issues
Handling Errors from 7zip
When using 7zip via PowerShell, you may encounter various error messages. Common errors include missing files, incorrect paths, or issues with file formats. It’s essential to read the error messages carefully, as they often point directly to the issue, helping you troubleshoot effectively.
Ensuring Compatibility
Not all files are compatible with all formats. Before attempting to compress or extract files, ensure that you have selected the correct format and that your version of 7zip supports that file type. Frequently check for updates to avoid compatibility issues.
Conclusion
Using 7zip in PowerShell opens up a world of possibilities for file management, allowing for efficient compression, extraction, and automation. By integrating 7zip with PowerShell, you can enhance your workflow significantly, making it easier to handle large files and automate tedious tasks.
Additional Resources
For further exploration, consult the official [7zip documentation](https://sevenzip.org/) for in-depth details on commands and features. Also, consider linking to PowerShell resources to deepen your understanding of scripting techniques that complement your use of 7zip.
FAQs about 7zip in PowerShell
- Can I use 7zip in PowerShell without GUI? Yes, 7zip can be fully operated via command line in PowerShell, making it ideal for automation.
- What file formats can 7zip handle? 7zip supports numerous formats, including .zip, .tar, .gzip, and its proprietary .7z format.
- How do I get help for 7zip commands in PowerShell? You can type `& "7z.exe" -h` in PowerShell to view all available commands and options.


