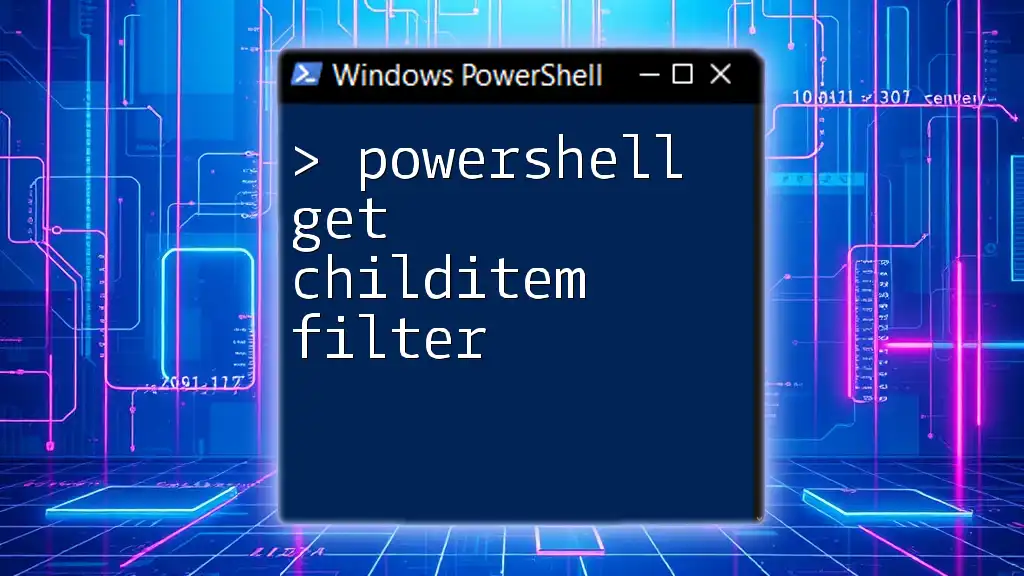
The `Get-ChildItem` cmdlet in PowerShell retrieves files and directories in a specified location, and the `-Filter` parameter allows you to specify a pattern to limit the items returned.
Here’s an example of using `Get-ChildItem` with the `-Filter` parameter in PowerShell:
Get-ChildItem -Path 'C:\Example\Path' -Filter '*.txt'
Understanding Get-ChildItem
What is Get-ChildItem?
`Get-ChildItem` is a powerful cmdlet in PowerShell that allows users to retrieve the files and directories within a specified path. It is analogous to commands like `dir` and `ls` in other shells, but with greater flexibility and functionality. This cmdlet is essential for managing files, folders, and even specific attributes of files on your Windows system.
Basic Syntax of Get-ChildItem
The basic syntax of `Get-ChildItem` is straightforward:
Get-ChildItem -Path <Path> [-Filter <Filter>] [-Recurse] [-Exclude <Excludes>] [-Include <Includes>]
- `-Path` specifies the directory to search.
- `-Filter` allows filtering of results based on name or type.
- `-Recurse` enables searching through all subdirectories.
- `-Exclude` and `-Include` fine-tune what gets included or omitted in the results.
Utilizing Filters with Get-ChildItem
The Importance of Filtering
Filtering plays a crucial role in effective data retrieval when using `Get-ChildItem`. In many scenarios, particularly in large directories, you may only want to find files of a specific type or meet particular criteria. By applying filters, you enhance the performance of your command and make it easier to manage the output.
How to Use Filters in Get-ChildItem
The primary way to filter results in `Get-ChildItem` is through the `-Filter` parameter. This allows you to specify patterns that the command will use to limit what is returned.
Example:
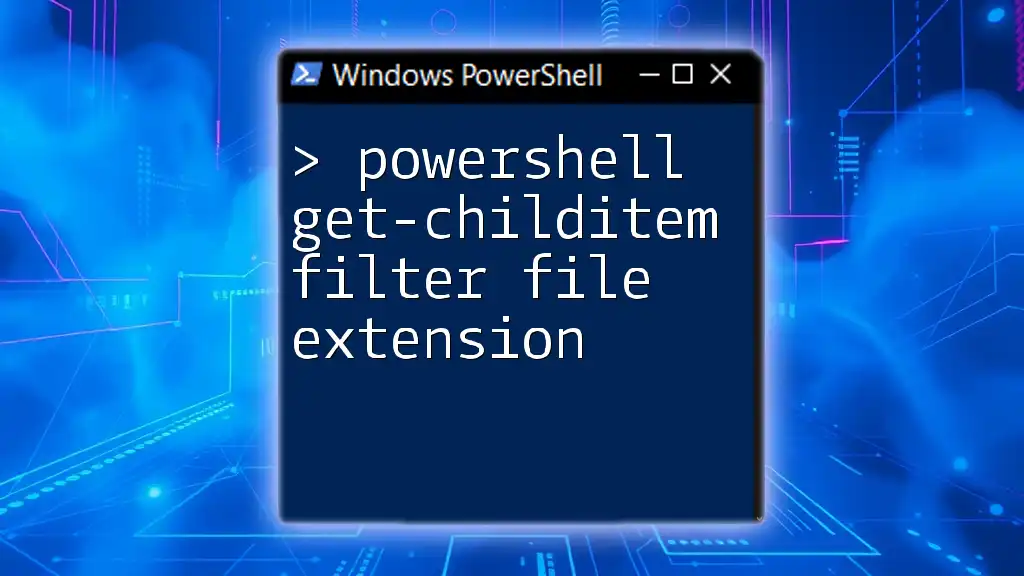
To retrieve all text files in a directory, you would use:
Get-ChildItem -Path "C:\Example" -Filter "*.txt"
In this command, the `-Filter` parameter restricts the output to files that end with the `.txt` extension. This simple yet effective command demonstrates the power of filtering in narrowing down your search results.
Common Filtering Techniques
Using Wildcards
Wildcards are essential in filtering, as they allow you to match various file patterns. The asterisk (`*`) can represent any number of characters, while the question mark (`?`) can substitute for a single character.
For example, if you want to find all files that start with the letter 'A' in any directory, you would run:
Get-ChildItem -Path "C:\Example" -Filter "A*.*"
This command retrieves all files that begin with 'A', regardless of their file extension.
Combining Filters
To perform more refined searches, you can combine filters using `-Include` and `-Exclude`. This feature allows you to specify multiple filtering criteria in a single command.
Example:
Get-ChildItem -Path "C:\Example" -Include "*.txt", "*.docx" -Exclude "*.tmp"
Here, the command fetches both `.txt` and `.docx` files while excluding any `.tmp` files. This combination provides flexibility in managing file types.
Advanced Filtering with Get-ChildItem
Using the Where-Object Cmdlet
When you need more complex filtering, the `Where-Object` cmdlet becomes invaluable. It allows you to filter results based on custom criteria.
For instance, if you want to find files larger than 1MB, you can combine `Get-ChildItem` with `Where-Object` like this:
Get-ChildItem -Path "C:\Example" | Where-Object { $_.Length -gt 1MB }
In this example, `Where-Object` processes the output from `Get-ChildItem`, filtering only those files whose lengths exceed 1 megabyte.
Filtering by Attributes
`Get-ChildItem` can filter files not just by names but also by attributes such as hidden or read-only files.
Example:
To retrieve all hidden files in a directory, you would use:
Get-ChildItem -Path "C:\Example" -Attributes Hidden
This command focuses on files that have the hidden attribute, allowing for efficient file management, especially when troubleshooting or auditing directories.
Practical Use Cases
Real-World Applications of Get-ChildItem Filters
The ability to filter results with `Get-ChildItem` is invaluable in various real-world scenarios. For instance, system administrators often employ this cmdlet in scripts to identify files for cleaning up disk space by filtering out unnecessary file types. Additionally, developers may use it to revert specific changes by locating particular versions of files.
Tips and Best Practices for Using Get-ChildItem Filters
Optimizing Performance with Filters
Proper filtering can significantly enhance the performance of your scripts. When dealing with large directories, avoiding an exhaustive search can save time and system resources. Always tailor your `-Filter`, `-Include`, and `-Exclude` parameters to accurately target the files or directories you need.
Error Handling
Basic error handling can prevent your scripts from failing unexpectedly. Using `Try-Catch` blocks is a good practice when executing file operations. For instance:
Try {
    Get-ChildItem -Path "C:\Example"
} Catch {
    Write-Host "An error occurred: $_"
}
This snippet provides a prompt if an error arises during the command execution, helping ensure that you remain informed of any issues that may need attention.
Conclusion
In summary, leveraging the PowerShell Get-ChildItem filter greatly enhances your ability to manage files and directories efficiently. By employing various filtering techniques, from simple extensions to advanced attribute searches, you can retrieve precisely the information you need. Experiment with these commands to see how they can streamline your file management processes and encourage a deeper engagement with PowerShell's capabilities.


