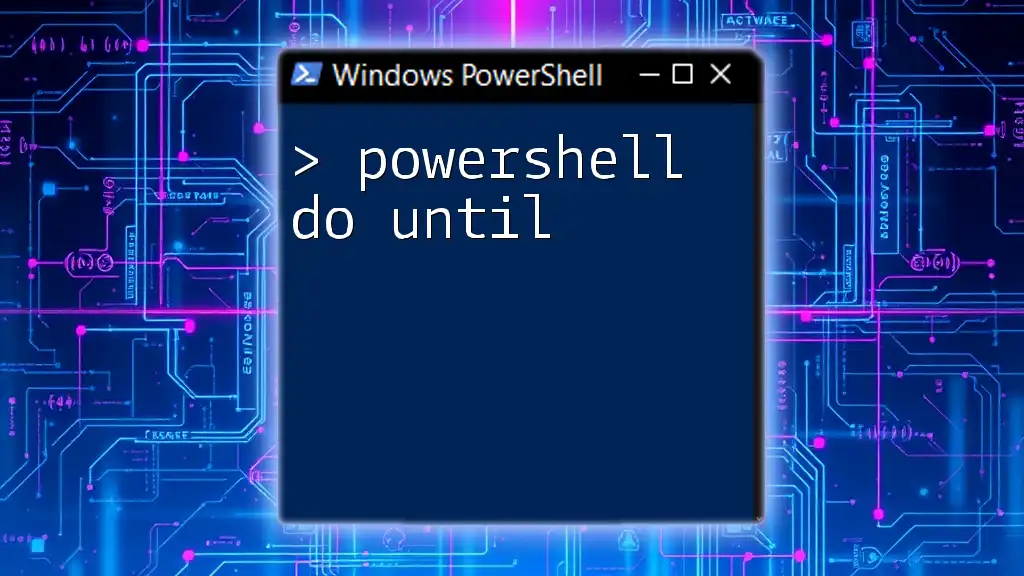
The `Do Until` loop in PowerShell repeatedly executes a block of code until a specified condition is met, allowing for controlled iterations even if the condition is initially false.
$count = 1
do {
    Write-Host "Count is $count"
    $count++
} until ($count -gt 5)
Understanding PowerShell Loops
What are Loops in PowerShell?
Loops are fundamental constructs in programming that enable the execution of a block of code multiple times until a specified condition is met. In PowerShell, loops streamline tasks by automating repetitive actions, saving time and reducing errors.
There are several types of loops available in PowerShell:
- For Loop: Executes a block of code a specified number of times.
- While Loop: Continues execution as long as a specified condition is TRUE.
- Do Until Loop: Executes a block of code until a specified condition becomes TRUE. This is the primary focus of this article.
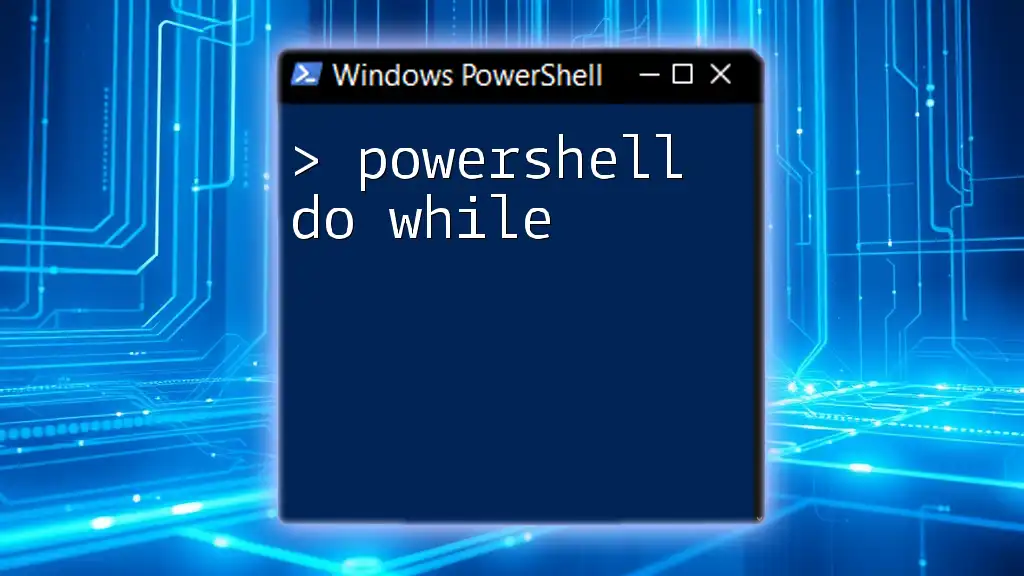
- Do While Loop: Executes a block of code as long as a specified condition is TRUE.
The Role of the "Do Until" Loop
The "Do Until" loop executes a block of code, then checks the condition. This means it will always run at least once, regardless of whether the condition is initially true or false. This is particularly useful when you want to ensure that some actions execute before validating a condition.
The key distinction to remember is: while a "Do While" loop checks its condition before executing, the "Do Until" loop checks its condition after executing.
Syntax of the "Do Until" Loop
Basic Structure
The syntax for a "Do Until" loop is as follows:
do {
    # Code block to execute
} until (<condition>)
This syntax outlines the process: the code inside the `do` block executes first, and only then is the condition checked to determine if the loop should terminate.
Detailed Breakdown of Syntax Components
The `do` Block
The `do` block contains the commands that you want to execute repeatedly. This block can encompass any valid PowerShell commands and can perform complex processing.
The `until` Condition
The `until` condition is crucial because it determines when to stop the loop. You can use various comparison operators such as `-eq` (equal), `-lt` (less than), `-gt` (greater than), and many others to define this condition.
Practical Examples of "Do Until" in Action
Example 1: Simple Counter
Let’s consider a simple example of a counter. Here’s how you can create a loop that increments a counter until it reaches a specific value:
$counter = 0
do {
    $counter++
    Write-Host "Counter: $counter"
} until ($counter -ge 5)
In this example, the loop runs until the `$counter` variable reaches or exceeds the value of 5. This will output:
Counter: 1
Counter: 2
Counter: 3
Counter: 4
Counter: 5
Example 2: Checking for File Existence
In a practical scenario, you might need to wait for a file to exist before proceeding with further actions. Using "Do Until" accomplishes this efficiently:
$filePath = "C:\example.txt"
do {
    Start-Sleep -Seconds 2
    Write-Host "Waiting for file..."
} until (Test-Path $filePath)
Write-Host "File found!"
In this code snippet, the script will pause for 2 seconds between checks, continuously verifying if the specified file exists. Once it detects the file, it outputs "File found!" and exits the loop. This showcases how the "Do Until" loop can be used for polling in real-world scenarios.

Exploring "Do While" vs. "Do Until"
Differences Between "Do While" and "Do Until"
While both "Do While" and "Do Until" loops execute a block of code repeatedly, they fundamentally differ in their condition checks:
-
Do While: Continues to loop as long as the condition is true. It checks the condition before executing the block.
-
Do Until: Loops until the condition is true. It first executes the block and then checks the condition to decide whether to continue or exit.
Practical Use Cases
Consider a scenario in which you are collecting user input. If you require input until a valid entry is provided, the "Do Until" loop is suitable because you want to prompt for input at least once. Conversely, if you want to continuously prompt the user while they enter invalid data, a "Do While" loop might be more appropriate.
Troubleshooting Common Issues
Infinite Loops
One of the most common pitfalls with any loop, including the "Do Until", is the risk of creating an infinite loop. This occurs when the exit condition is never met. For example, forgetting to modify a variable that affects the condition can lead to a loop that runs indefinitely.
To avoid this, always ensure that there is a clear path to terminating the loop and use debugging techniques, such as inserting `Write-Host` statements to track variable changes within the loop.
Best Practices for Using "Do Until"
When working with "Do Until" loops, consider these best practices:
- Comment Your Code: Include comments to explain the purpose of the loop and what conditions will exit it. Clarity is crucial when revisiting code later.
- Avoid Heavy Processing Inside the Loop: If the loop contains complex processing, consider moving that logic outside or optimizing it. This helps maintain performance.
- Set Timeouts for Long-Running Loops: If waiting on conditions that can hang indefinitely, build in timeouts to prevent an infinite loop scenario.
Conclusion
The PowerShell Do Until loop serves as a powerful tool for executing commands repetitively until a specified condition is met. Understanding when and how to implement this loop can significantly enhance the efficiency of your scripts, allowing for dynamic controls and user interaction.
The examples provided illustrate both simple and practical applications of the "Do Until" loop, emphasizing its importance in scripting tasks. By practicing these examples and understanding the nuances of looping constructs, you can improve your PowerShell scripting skills and effectively automate numerous tasks.
Additional Resources
For further reading, consider exploring the official PowerShell documentation, additional courses on PowerShell scripting, and community forums to discuss your experiences and challenges with loops. Engaging with the community can provide valuable insights and troubleshooting tips as you continue to expand your PowerShell knowledge.
Call to Action
If you found this guide helpful, subscribe for more tips and insights on PowerShell scripting. Share your experiences with PowerShell loops in the comments below—your input fuels our community's growth and knowledge!


