To import an Excel file into PowerShell for data manipulation, you can utilize the `Import-Excel` command provided by the ImportExcel module.
Import-Excel -Path "C:\path\to\your\file.xlsx"
What is the Import-Excel PowerShell Module?
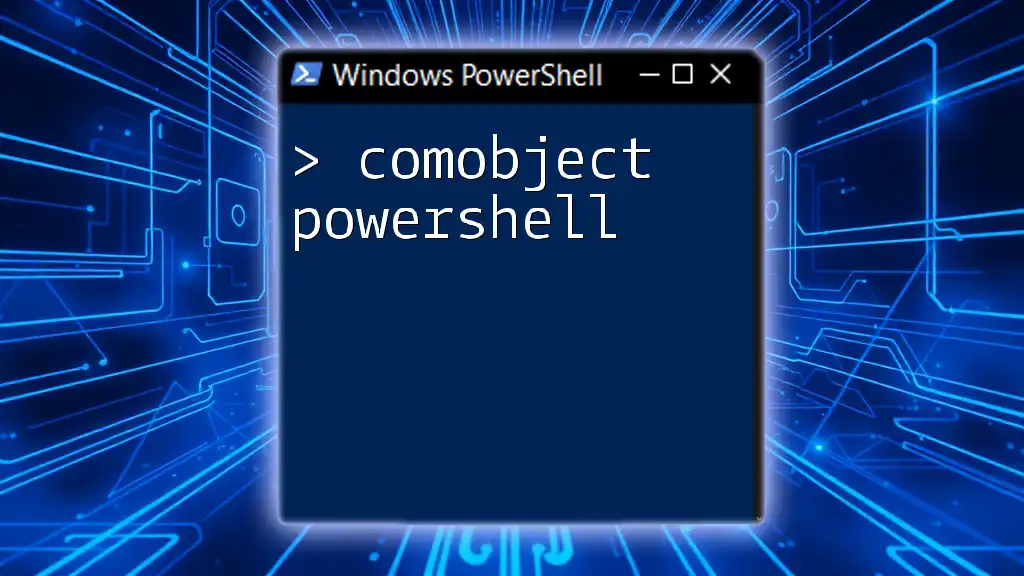
The Import-Excel module is a powerful tool that allows users to read from Excel files (.xlsx) directly within PowerShell. This module significantly simplifies the process of importing and manipulating Excel data without the need for Microsoft Excel Interop or COM objects. As a result, you can handle data more efficiently and automate repetitive tasks that involve Excel files.
Benefits of Using Excel with PowerShell
Integrating Excel and PowerShell brings numerous advantages to the table:
- Efficient Data Manipulation: Quickly import and process data without manual input.
- Automation of Repetitive Tasks: Set up scripts to automate tasks such as reporting and data analysis.
- Integration with Other PowerShell Scripts: Seamlessly incorporate Excel data handling into your broader automation projects.
Installing the Import-Excel PowerShell Module
Prerequisites
Before you can begin using the Import-Excel module, ensure your environment meets the following requirements:
- PowerShell 5.0 or later.
- Excel application installed (optional, but useful for data validation).
Installation Steps
To get started, you can install the Import-Excel module directly from the PowerShell Gallery. Use the following command:
Install-Module -Name ImportExcel
After that, verify the installation by running:
Get-Module -Name ImportExcel -ListAvailable
This command will confirm that the module has been successfully installed on your system.
Importing Excel Files with PowerShell
Basic Syntax of Import-Excel
The primary command to import an Excel file is straightforward. To do so, use:
Import-Excel -Path 'C:\path\to\your\file.xlsx'
The -Path parameter specifies the location of the Excel file.
Example: Importing a Simple Excel File
Imagine you have an Excel file containing sales data. To import this data, follow these steps:
- Say your file is located at `C:\data\sales_data.xlsx`.
- Use the command:
$data = Import-Excel -Path 'C:\data\sales_data.xlsx'
Upon executing this command, the data will be stored in the `$data` variable. To display this data, run:
$data
You will see the contents of your Excel file, making it easy to analyze and manipulate.
Advanced Options for Importing Excel Files
Formatting and Filtering Data
Sometimes you may not need all the data from a spreadsheet. Here are ways to specify what you wish to import.
Working with Specific Sheets
If your Excel file contains multiple worksheets, you can target a specific one by using the -WorksheetName parameter:
Import-Excel -Path 'C:\data\sales_data.xlsx' -WorksheetName 'JanuarySales'
Filtering Columns
When importing data, you might want to include or exclude certain columns. Use the -Include and -Exclude parameters for this:
Import-Excel -Path 'C:\data\sales_data.xlsx' -Include 'ProductName', 'SalesAmount'
This command imports only the `ProductName` and `SalesAmount` columns from the specified Excel file.
Handling Data Types
PowerShell treats data types dynamically, but knowing how to manage these types can enhance your workflows. After importing, you can check the properties of the data:
$data = Import-Excel -Path 'C:\data\sales_data.xlsx'
$data | Get-Member
This command reveals the different attributes and methods associated with the imported data, allowing for more precise data manipulation.

Manipulating Imported Data
Once you have your data imported, it’s time to manipulate it according to your needs.
Basic Data Manipulation Techniques
PowerShell allows various operations on imported data, such as sorting or filtering.
For example, to sort the data by the `SalesAmount`, you can use:
$data | Sort-Object -Property 'SalesAmount'
This returns a sorted list of your sales data, making it easier to analyze.
You may also count the number of rows or find distinct values in a column:
$rowCount = $data.Count
$distinctProducts = $data.ProductName | Select-Object -Unique
Exporting Back to Excel
After processing and manipulating your data, you may want to save it back into an Excel file. You can do this using the Export-Excel cmdlet:
$data | Export-Excel -Path 'C:\data\processed_sales_data.xlsx'
This command exports your manipulated data to a new Excel file, preserving your work for further analysis or reporting.
Common Issues and Troubleshooting
Common Errors During Importing
When using Import-Excel, you might encounter some common errors. Here are a few examples:
- File Not Found: Ensure the path is correct.
- Invalid File Format: Ensure you are importing a `.xlsx` file, as other formats may not be supported.
Solutions and Workarounds
If you face issues, here are some troubleshooting tips:
- Double-check the file path and format.
- Confirm that you have permission to access the file.
- If errors persist, consider restarting PowerShell or checking for updates to the module.
Best Practices for Using Import-Excel
When working with the Import-Excel module, consider these best practices:
- Maintaining Data Integrity: Always validate data after importing. Use checks to ensure the data conforms to expected formats.
- Organizing Scripts: For complex tasks, structure your PowerShell scripts logically. Use functions to compartmentalize different operations for better readability.
Conclusion
The Import Excel PowerShell module is a valuable asset for anyone looking to streamline their data analysis processes. By mastering the skills outlined in this guide, you can efficiently read, manipulate, and export Excel data, thereby automating your workflows and enhancing productivity. Don’t hesitate to practice these commands and share your experiences. Each new insight into how you use PowerShell can open doors to even more automation possibilities!

Additional Resources
For further exploration, consider delving into the official documentation for the Import-Excel module or checking out community forums dedicated to PowerShell scripting. There’s a wealth of knowledge available to help you become a PowerShell pro!


