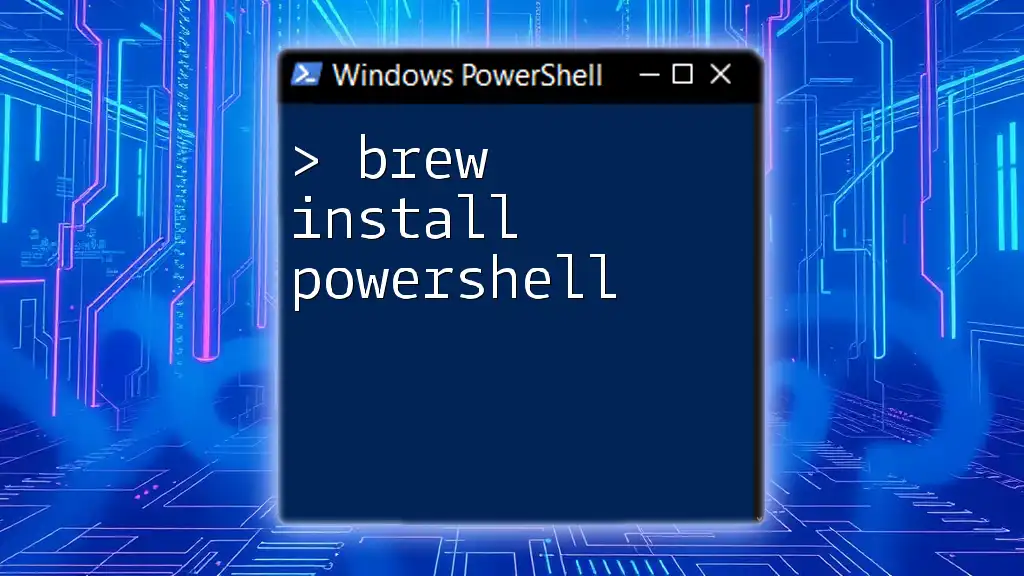
To install PowerShell using Homebrew on macOS, use the following command in your terminal:
brew install --cask powershell
What is Homebrew?
Understanding Homebrew
Homebrew is a popular package manager for macOS, designed to simplify the installation, management, and removal of software on Unix-like operating systems. It allows users to install command-line tools and applications with minimal effort by using simple commands rather than manually downloading and configuring software.
Benefits of using Homebrew:
- Convenience: Homebrew automates the installation process, saving time and reducing effort compared to traditional installation methods.
- Dependency Management: Homebrew resolves and handles dependencies automatically, ensuring that required libraries and software are installed alongside your primary application.
- Updates: Keeping your software up to date is easy with Homebrew, which allows users to update all installed packages with just one command.
Why Use Homebrew to Install PowerShell?
Using Homebrew to install PowerShell enhances the experience by providing a streamlined installation process. Key advantages include:
- Simplicity: Installing PowerShell through Homebrew involves a straightforward command rather than complex installation steps.
- Automatic Dependency Management: Homebrew handles all necessary dependencies behind the scenes, ensuring your PowerShell setup is complete.
- Easy Version Control: With Homebrew, you can manage and switch between different versions of PowerShell effortlessly.
Prerequisites
System Requirements
Before proceeding with the installation, ensure that your macOS version is compatible with PowerShell. Generally, PowerShell runs on macOS Sierra (10.12) and later versions, but it's always best to check for the latest compatibility information on the official Microsoft documentation. Also, ensure that you have enough hardware resources such as RAM and disk space for optimal performance.
Installing Homebrew
To check if Homebrew is already installed on your system, run the following command in your Terminal:
brew -v
If Homebrew is not installed, you can install it with the following command:
/bin/bash -c "$(curl -fsSL https://raw.githubusercontent.com/Homebrew/install/HEAD/install.sh)"
After the installation completes, verify that Homebrew is set up correctly by running:
brew doctor
This command will check your Homebrew environment to ensure everything is working fine.
Installing PowerShell with Homebrew
Installing PowerShell
Once Homebrew is installed, you can proceed to install PowerShell by entering the following command in your Terminal:
brew install --cask powershell
This command instructs Homebrew to download PowerShell and all its dependencies, ensuring a smooth installation process.
Verifying PowerShell Installation
After the installation is complete, you can open PowerShell by typing `pwsh` in your Terminal. To confirm the installation was successful, check the PowerShell version with the following command:
pwsh -v
If the version displays correctly, congrats! PowerShell is successfully installed, and you are ready to explore its capabilities.
Using PowerShell on macOS
Getting Started with PowerShell
With PowerShell installed, it’s essential to familiarize yourself with its environment. The command line interface can be customized, and users can set up their PowerShell profiles for personalized configurations. To create or edit your profile, simply run:
notepad $PROFILE
Frequently Used PowerShell Commands
Here are some basic commands that will help you get started:
-
Get-Help: This command provides detailed help for any cmdlet or concept in PowerShell. For instance, to understand how to use the `Get-Command`, you would run:
Get-Help Get-Command -
Get-Command: This allows you to explore available cmdlets and functions:
Get-Command
This command can be especially useful if you're new to PowerShell and need to discover available functions.

Troubleshooting Installation Issues
Common Errors During Installation
Sometimes, users may encounter errors during the installation process. Common issues include network-related problems, permission errors, or conflicts with existing software. Always read the error messages carefully; they often provide clues about how to troubleshoot the issues.
Uninstalling PowerShell via Homebrew
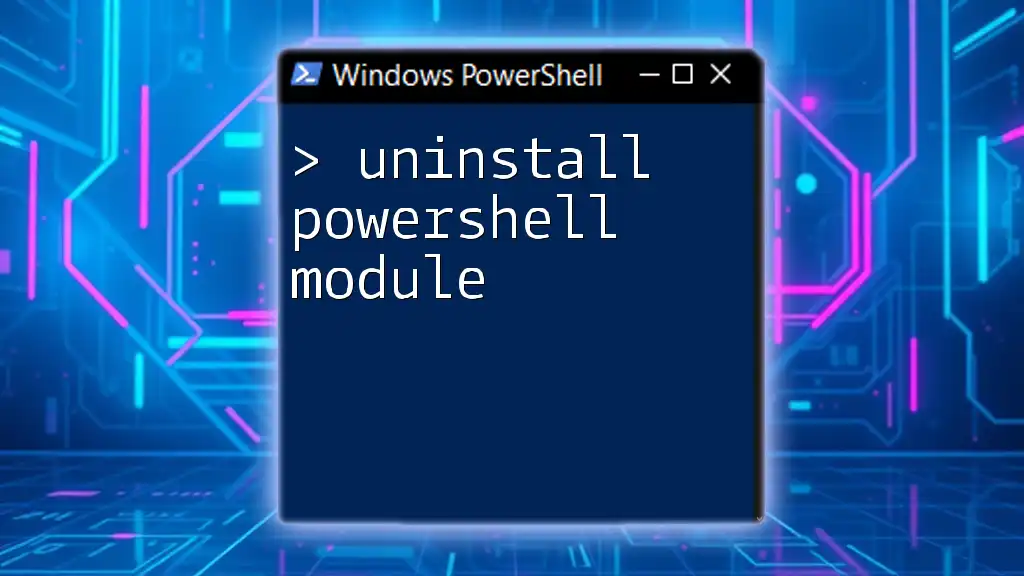
If you need to uninstall PowerShell for any reason, Homebrew makes it easy. Just enter this command in your Terminal:
brew uninstall --cask powershell
This command cleanly removes PowerShell and its associated files from your system.
Advanced PowerShell Usage
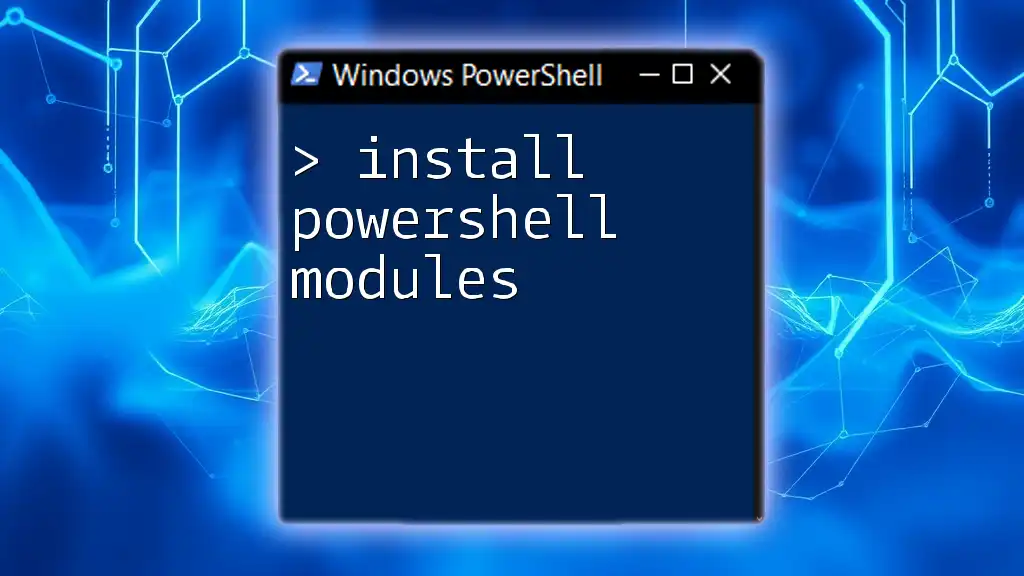
Leveraging PowerShell Modules
PowerShell modules are packages of cmdlets, functions, and other resources that extend the functionality of PowerShell. To install additional modules, you can use the `Install-Module` command. For example, to install the popular "PowerShellGet" module, you would execute:
Install-Module -Name PowerShellGet
This command allows you to access a wide range of additional functionalities that can enhance your productivity.
Integrating PowerShell with macOS
PowerShell is not just a command-line interface; it can also be a powerful tool for automation tasks on macOS. You can integrate PowerShell scripts with native macOS commands to create powerful workflows. For instance, if you want to automate file organization, you can write a PowerShell script that interacts with the macOS file system.
Here’s a simple example that lists files in a directory:
Get-ChildItem -Path ~/Documents
This command retrieves all files in the Documents folder, showcasing how PowerShell can interact with your macOS environment.
Conclusion
In this guide, we have covered the essential steps for a seamless installation of PowerShell using Homebrew. From understanding Homebrew and its benefits to troubleshooting common issues and exploring advanced usage, you are now equipped to get the most out of PowerShell on your macOS system.
By taking advantage of PowerShell's automation capabilities and extensive command set, you can enhance your productivity significantly. Go ahead and share this guide with others and begin harnessing the full potential of PowerShell today!
Additional Resources
For further learning, consider checking out the official PowerShell documentation, which provides in-depth information and examples. Additionally, explore online tutorials and courses to enhance your PowerShell skills, and engage with community forums to connect with other PowerShell users for support and knowledge exchange.


