PowerShell `curl` is a command that allows you to transfer data using various network protocols, enabling users to interact with REST APIs and download files easily.
Here's a simple code snippet showcasing how to use `curl` in PowerShell to fetch the content of a webpage:
curl https://www.example.com
What is Curl?
`curl` is a command-line tool that enables users to transfer data to or from a server using various protocols, including HTTP, HTTPS, FTP, and more. It is particularly favored for its ability to perform web requests, which makes it essential for developers and system administrators. The name `curl` stands for "Client URL," and it provides a flexible interface for interacting with web APIs and services.
In the context of PowerShell, `curl` serves as a convenient way to make HTTP requests, similar to how it operates on other operating systems. It integrates seamlessly into the scripting environment, allowing users to automate data retrieval and manipulation tasks effectively.
Using Curl in PowerShell
Introduction to Curl in PowerShell
Using `curl` in PowerShell simplifies the process of making HTTP requests. PowerShell natively recognizes `curl` as an alias for the `Invoke-WebRequest` cmdlet, making it accessible to those familiar with either command. This bridge means that users can leverage `curl` functionality while also accessing the rich features of PowerShell.
Curl Command in PowerShell
The basic syntax for executing a `curl` command in PowerShell is:
curl <URL>
This command retrieves the content from the specified URL. There are various scenarios where you may require `curl`, such as:
- Fetching HTML content from web pages
- Interacting with web-based APIs
- Testing web server responses
Example: To fetch a simple web page, you can execute:
curl https://www.example.com
This command returns the HTML content of the specified page, which you can view directly in the PowerShell window.
Alternative Command: Invoke-WebRequest
While `curl` is convenient, PowerShell's `Invoke-WebRequest` cmdlet provides a rich set of features for HTTP requests. The basic syntax for `Invoke-WebRequest` is:
Invoke-WebRequest -Uri <URL>
Example: To achieve the same result as the previous `curl` command, you can use:
Invoke-WebRequest -Uri https://www.example.com
This cmdlet provides additional options like parsing the response into HTML or JSON objects. Comparative Note: Using `Invoke-WebRequest` might be more intuitive for users familiar with PowerShell, as it integrates deeply with PowerShell's object-oriented capabilities.
Curl Command in PowerShell: Examples
Fetching Web Pages
As previously shown, `curl` allows for easy handling of basic web page fetching. By executing:
curl https://www.example.com
You receive the full HTML output right in your PowerShell window. You can further process or log this output as needed, thanks to PowerShell's flexible data handling.
Sending GET Requests
To interact with APIs and gather data, `curl` can issue GET requests:
curl https://api.example.com/data
This command retrieves data stored at the specified API endpoint. If the response is in JSON format, PowerShell can utilize built-in cmdlets, such as `ConvertFrom-Json`, to easily manipulate the data:
$response = curl https://api.example.com/data
$data = $response.Content | ConvertFrom-Json
Sending POST Requests
When data needs to be sent to a server, `curl` supports POST requests. For example, sending JSON data to an API might look like this:
curl -X POST https://api.example.com/data -d '{"key":"value"}'
It is important to ensure that the data is correctly formatted according to the API's specifications. Upon execution, you'll receive a server response indicating whether the operation was successful.
Adding Headers to Requests
Headers are crucial in HTTP requests for authentication and data formatting. With `curl`, adding headers is straightforward. As an example, here’s how to include an authorization token:
curl -H "Authorization: Bearer <token>" https://api.example.com/private
This command enhances security by allowing access to restricted data through authorization.
Curl for Windows PowerShell
Installation of Curl on Windows
On modern versions of Windows, `curl` comes pre-installed with PowerShell, especially in PowerShell Core. However, if you need to install or update, downloading a recent version from the official website is recommended. Verify your installation by typing:
curl --version
This command displays the installed version of `curl`, confirming its availability for use in PowerShell.
Common Issues and Troubleshooting
While using `curl` in PowerShell is generally straightforward, users may encounter issues such as command ambiguity due to PowerShell aliases or output formatting difficulties. If `curl` returns unexpected results, ensure that no aliases are interfering by using its full form:
./curl.exe <URL>
This command explicitly calls the executable, avoiding alias conflicts.
Advanced Curl Usage in PowerShell
Using Parameters with Curl
For more complex requests, `curl` supports various parameters. For instance, appending query data to a URL can be done as follows:
curl -G --data-urlencode "param1=value1" https://api.example.com/data
In this example, the `-G` flag indicates a GET request with URL-encoded data, making it easy to pass variables to APIs.
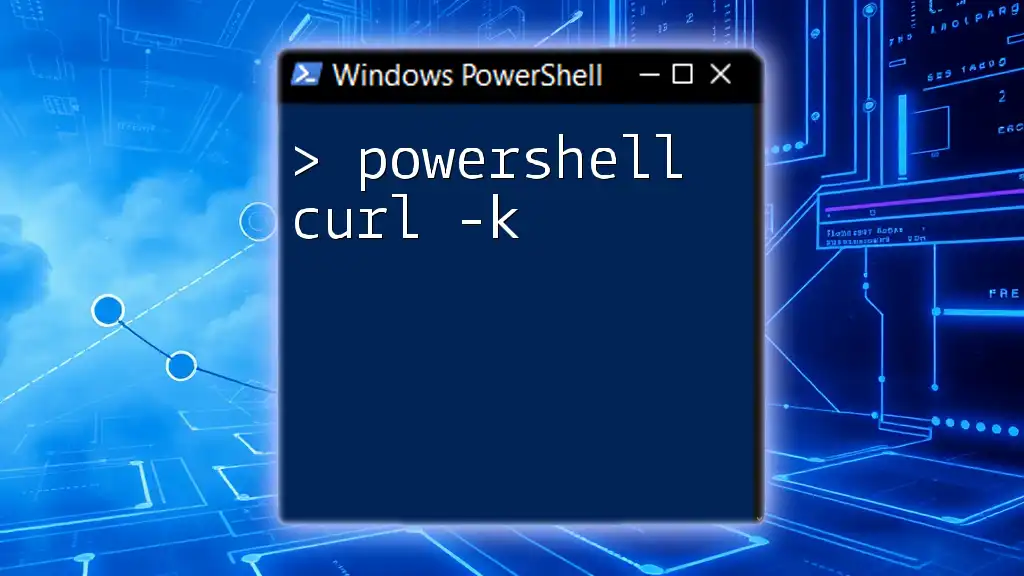
Using Curl with SSL Certificates
When interacting with HTTPS endpoints, issues may arise with SSL certificates, especially when dealing with self-signed certificates. To bypass SSL validation errors, you can use:
curl -k https://self-signed.badssl.com/
Although this is useful for testing, be cautious, as ignoring SSL validation can lead to security vulnerabilities in production environments.
Conclusion
In this comprehensive guide, we explored the utility of `powershell curl` for making HTTP requests seamlessly within the PowerShell environment. From basic commands to advanced usage, curl enhances the capabilities of PowerShell users, enabling efficient interaction with web services and APIs.
Call to Action
As you explore `powershell curl`, consider ways to integrate it into your daily tasks for greater automation. Stay updated by following our content for more powerful PowerShell tips and tutorials!


